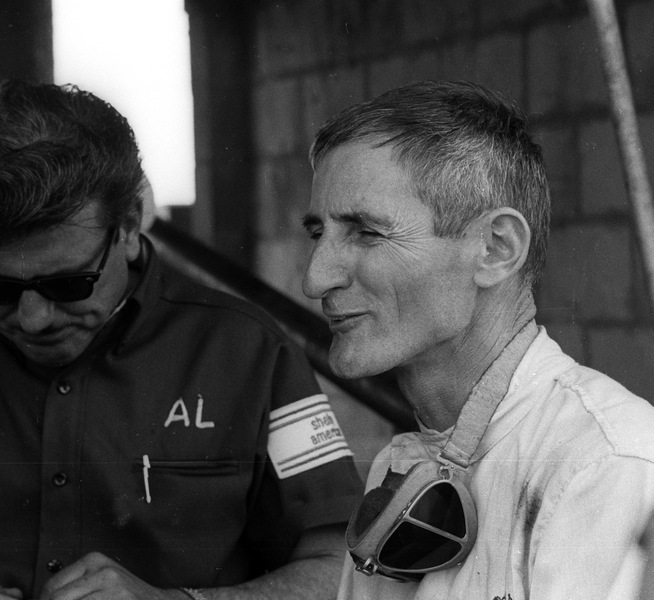
Ken Miles(01) Save Image Image gallery: Unveiling the Enigma: Ken Miles' Demise and the Lessons We've Learned